
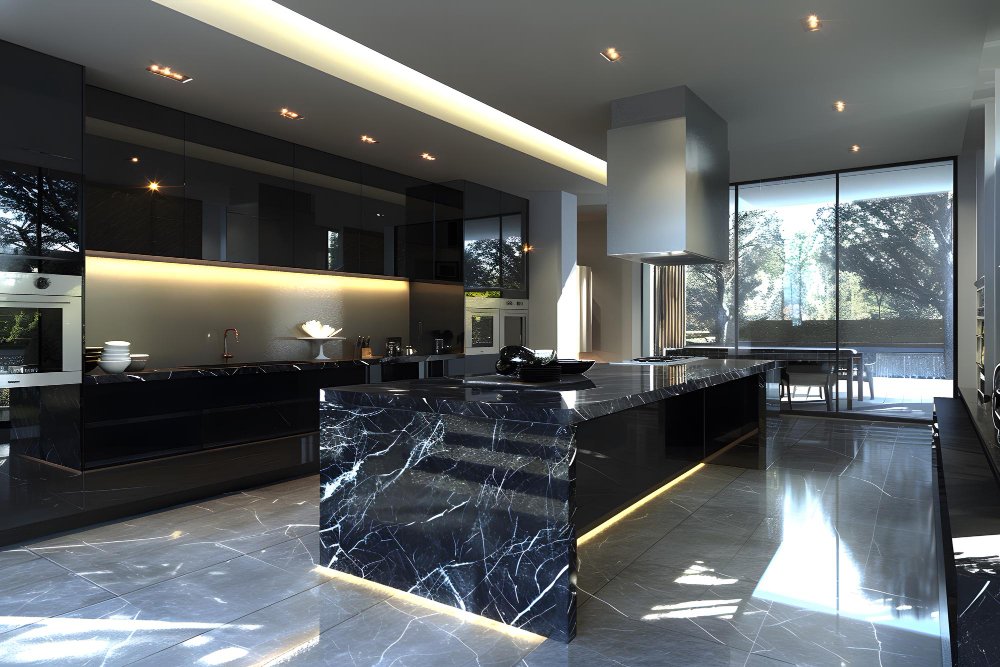
If you’re planning a kitchen renovation, your countertop will influence everything from daily meal preparation to the overall style of the room. Dekton Countertops have become a popular choice because they combine exceptional durability with a sleek, modern appearance. This guide walks you through the process of selecting and installing ultra-compact Dekton surfaces so you can make a confident investment.
Dekton is an ultra-compact material that requires specialized fabrication and installation. Attempting to cut or install it without the proper equipment may damage the slabs and void manufacturer warranties.
Step 1: Determine Your Kitchen’s Needs
Before selecting colors or finishes, think about how your kitchen is used every day. A family that cooks frequently may prioritize durability, while homeowners who entertain often may focus on creating a dramatic centerpiece.
Start by evaluating the following:
- Measure all countertop areas accurately.
- Identify locations for sinks, cooktops, and appliances.
- Decide whether you want a waterfall island or full-height backsplash.
- Select a style that complements your cabinetry and flooring.
✓ Planning Checklist
- ✓ Confirm countertop dimensions.
- ✓ Review cabinet condition before installation.
- ✓ Establish your remodeling budget.
- ✓ Choose a finish that matches your kitchen design.
Step 2: Select the Right Ultra-Compact Dekton Surface
Once your layout is finalized, it’s time to choose the surface itself. Dekton offers a wide variety of colors, textures, and finishes, ranging from marble-inspired patterns to concrete and natural stone aesthetics.
When comparing options, focus on both appearance and performance.
- Choose a finish that complements your home’s style.
- Consider edge profiles that enhance the overall design.
- Plan backsplash and island details at the same time.
- Review lighting to see how the surface will appear throughout the day.
✓ Selection Checklist
- ✓ Select a timeless color palette.
- ✓ Match hardware and fixtures to the countertop finish.
- ✓ Coordinate with cabinetry and wall colors.
- ✓ Confirm slab availability before scheduling installation.
Avoid choosing a countertop color based solely on showroom lighting. Always request a full slab or large sample whenever possible to see how it looks inside your home.
Step 3: Schedule Professional Installation
Even the highest-quality countertop performs best when installed correctly. Professional installers measure precisely, fabricate each section accurately, and ensure seams, cutouts, and edges fit perfectly.
The installation process generally includes:
- Final on-site measurements.
- Precision fabrication of the Dekton slabs.
- Delivery and careful placement.
- Seam alignment, finishing, and final inspection.
✓ Installation Checklist
- ✓ Verify cabinets are level.
- ✓ Confirm sink and appliance specifications.
- ✓ Inspect the finished installation before project completion.
- ✓ Ask for maintenance recommendations from your installer.
Final Thoughts
Choosing Dekton countertops is about more than upgrading a kitchen—it’s about creating a workspace that combines beauty, durability, and everyday functionality. By carefully planning your layout, selecting the right Ultra-Compact Dekton Surfaces , and relying on experienced professionals for installation, you’ll enjoy a countertop designed to perform for many years.
A thoughtful installation not only enhances the appearance of your kitchen but also provides a durable surface that supports cooking, entertaining, and everyday living with confidence.